Transform Your IKEA HEMNES: A Budget-Friendly Makeover Guide | klasifikasi hewan gajah, agen qiu qiu, poker 303 lapak, baccarat card counting, bikini party slot, dunia 777 com, ace poker, www klik555 online, inatogil, togel korea live, igc slot88, mikigaming login, situs sakong terhoki, keluaaran togel sgp, sayang opo kowe krungu lirik, slot gacor hari ini, pialasport slot, rtp titi4d, bandit 4d, keluaran togel hongkong, wild joker
Transform Your IKEA HEMNES: A Budget-Friendly Makeover Guide
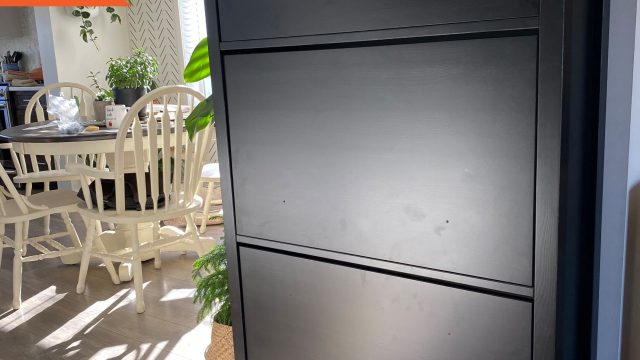
If you ever thought that IKEA furniture lacked character, think again! With a touch of creativity and a moderate budget, you can elevate your IKEA HEMNES shoe cabinet from ordinary to extraordinary. A recent DIY project has showcased an impressive makeover that has captivated home decor enthusiasts. This transformation not only enhances the aesthetic appeal but also emphasizes the importance of personalization in home design.
Why a Makeover Matters Now
In a world where personalization is key, DIY projects offer the perfect opportunity to express your unique style. With more people spending time at home, now is the ideal moment to invest in creating a space that reflects your personality. The recent DIY project featuring the IKEA HEMNES cabinet highlights how affordable changes can result in a stunning appearance that rivals high-end furniture.
Getting Started: Materials and Tools
Before diving into the transformation process, it’s crucial to gather the necessary materials and tools. Here’s a simple checklist:
- Materials:
- Paint or wood stain (choose a color that suits your decor)
- Fluted drawer front panels (for added texture)
- New hardware (handles or knobs)
- Wood glue
- Sandpaper
- Clear sealant (for protection)
- Tools:
- Paintbrushes or rollers
- Screwdriver
- Measuring tape
- Utility knife
- Drill (if necessary for hardware installation)
Step-by-Step Guide to Your HEMNES Makeover
Now that you have your materials ready, let’s guide you through the makeover process:
Step 1: Prepare the Cabinet
Begin by emptying and cleaning the cabinet. Remove any existing hardware and give the surface a thorough sanding to ensure smooth paint adhesion.
Step 2: Add Texture with Fluted Panels
Using wood glue, attach the fluted panels to the drawer fronts. This detail adds a sophisticated touch and creates visual interest. Allow the glue to dry completely before proceeding.
Step 3: Painting
Once the fluted panels are securely in place, it’s time to paint! Use a high-quality paint that suits your aesthetic. Apply at least two coats for a rich, even color, allowing each coat to dry thoroughly.
Step 4: Install New Hardware
Choose stylish new knobs or handles that complement your new color scheme. This small change can significantly impact the overall look of the cabinet.
Step 5: Finishing Touches
After the paint has fully dried, seal the cabinet with a clear sealant. This will protect your hard work from scratches and wear. Now, your cabinet is not only beautiful but also durable!
Inspiration for Your DIY Projects
This transformation serves as a reminder that chic, high-end decor doesn’t always come with a hefty price tag. By thinking creatively and utilizing your DIY skills, you can achieve stunning results that enhance your living space.
Decorating Tips for Your New Cabinet
Once your HEMNES cabinet is complete, consider styling it with the following:
- Decorative baskets for organized storage
- A few potted plants to add life
- Books or magazines for a personal touch
- Artwork or a framed mirror above the cabinet for added style
Conclusion: The Power of Personalization
The transformation of the IKEA HEMNES shoe cabinet is more than just a visual upgrade; it reflects the idea that your home should be a sanctuary that showcases your individuality. With a modest investment and some creativity, you too can embark on a DIY journey that enhances your space and brings joy. So grab your tools and start creating your dream furniture today!